
Tools
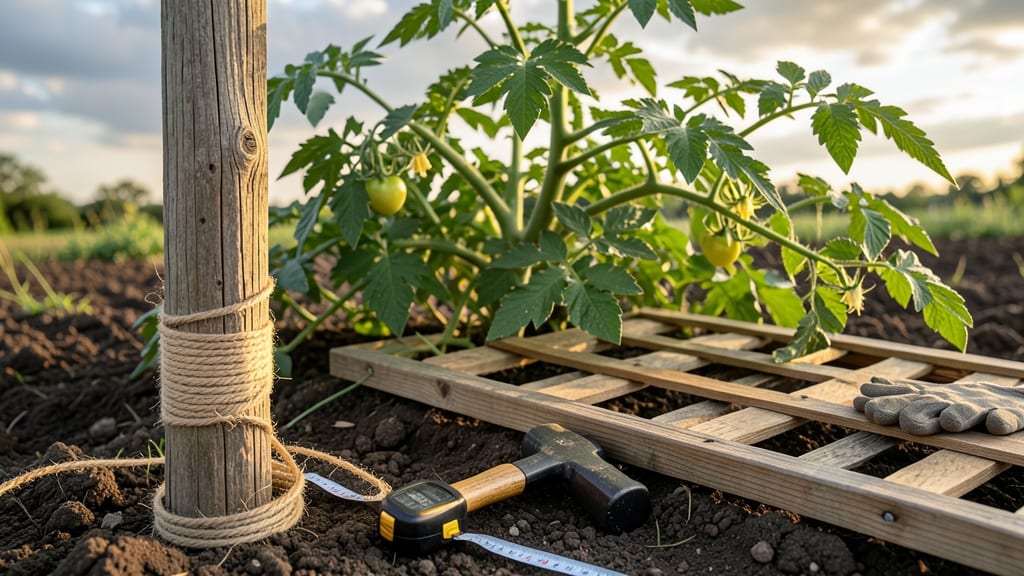
Building a tomato trellis that won't collapse under 20-pound tomatoes is easier than you think. 🌱 I've tested three designs over five seasons, and the bamboo teepee style consistently delivers the best support with minimal effort.
The key is matching the trellis height to your plant variety—determinate tomatoes need 4-5 feet, while indeterminate varieties demand 6-8 feet to keep vines climbing upward. You'll need just three supplies: 3/8-inch diameter bamboo poles, zip ties (or soft plant twine), and a sturdy base stake.
The whole project takes under 30 minutes, and the materials cost less than $15. What you end up with is a framework that keeps fruit off the ground, improves air circulation, and makes harvesting a breeze—no more broken stems or soil-borne diseases from ground contact.
By the time your plants hit 12 inches tall, you'll be weaving vines through the trellis and watching them grow skyward. The trellis stays sturdy for years with basic maintenance, and you can adapt the design for cages, stakes, or even A-frames depending on your garden space.
Whether you're working with a small balcony or a full garden bed, this method scales perfectly. Let's get those tomatoes growing vertically!
📚 In This Guide
- What you need
- Instructions
- Tips and common mistakes
- Wrapping up and next steps
What you need
- ● Trellis Structure: 4–6 wooden posts (4×4 or 6×6 inches, 6–8 feet tall) – or sturdy metal T-posts (for extra durability).
- ● 2–4 horizontal wooden beams (2×4 or 2×6 inches, 6–8 feet long) – for cross supports.
- ● 1–2 rolls of twine, jute, or garden twine (100+ feet) – for tying vines.
- ● Fasteners: Galvanized screws or nails (3–4 inches long, 10–15 pieces).
- ○ Heavy-duty zip ties (optional, for securing beams).
- ● Tools: Drill or hammer.
- ● Measuring tape.
- ● Level (to keep posts straight!).
- ● Saw (if cutting wood on-site).
- ● Cage or A-Frame Kit: Pre-made tomato cages or wire frames (for small plants).
- ● Concrete or Gravel: To anchor posts (if in windy areas).
- ● Paint or Stain: To protect wood from weather.
- ● Soft Plant Ties: Velcro or fabric strips (gentler on stems).
Step-by-Step instructions for building a tomato trellis
Here's my go-to method for creating a sturdy, long-lasting trellis that handles heavy tomato vines without bending.
🪴 Step 1: Gather Materials and Measure Your Space
For a 4-plant trellis, you'll need 4 wooden posts (4 feet tall), 3 horizontal bamboo stakes (5 feet long), and jute twine or soft plant ties. Measure your garden bed width—my trellis spans 3 feet across to accommodate four plants spaced 12 inches apart. Mark the ground where each post will go, ensuring they form a square or rectangle shape. I like to place them 6 inches outside the plant row so vines can weave through easily.
Use a level to check post placement—uneven posts will cause the trellis to lean. If your soil is soft, drive the posts 12 inches deep for stability. For firmer ground, 10 inches works fine. Tap them in with a mallet until they stand straight. Here's the thing—don't rush this step. A crooked trellis will sag under tomato weight, and you'll regret it when your 20-pound beefsteak tomatoes start dragging it over.
☀️ Step 2: Attach Horizontal Supports for Vine Guidance
Lay the first bamboo stake across the top of the posts, about 6 inches below the post tops. Secure it with two pieces of twine—one tied tightly around each post, then looped under the bamboo and knotted on the back. I use a square knot for extra strength. Space the horizontal stakes 12 inches apart vertically, creating three levels total. This gives vines multiple points to anchor as they grow.
For extra stability, tie the bamboo stakes to the posts at 45-degree angles where they meet. You'll see the difference when a summer storm hits—my trellises stay upright while flimsy ones collapse. If you're using metal or PVC pipes instead of bamboo, drill small holes first to secure ties without damaging the material.
✂️ Step 3: Add Diagonal Supports for Heavy Fruit Loads
Cut two additional bamboo stakes into 3-foot lengths and tie them diagonally between posts, forming an "X" shape. This creates a triangle support system that prevents the trellis from bowing under fruit weight. Position the first diagonal 8 inches below the top stake, then add a second one 12 inches below that. You'll notice how much sturdier it feels—like a mini suspension bridge for your tomatoes.
For determinate tomato varieties (the bushy ones), you can stop here. But for indeterminate types (the vining giants), add a final horizontal stake at the very bottom, just above soil level. This gives lower leaves something to cling to and prevents them from dragging in dirt. Real talk: skip this, and you'll spend half your summer wiping tomato leaves clean before slicing them for sandwiches.
🌱 Step 4: Train Vines and Maintain Support as They Grow
When your tomato plants reach 12 inches tall, gently weave the main stem through the lowest horizontal stake. As new growth appears, tie it to the next stake up using soft plant ties—never wire, which can cut into stems. I like to loop the tie around the vine once, then tie it to the trellis in a figure-eight pattern. This gives the vine room to thicken without strangling it.
Check your trellis weekly during peak growing season. You'll need to add extra ties as vines thicken and fruit swells. If a vine starts to sag between stakes, simply tie it to the nearest support. Here's the key: don't let vines spiral around the trellis—this creates weak points where they can snap. Instead, guide them in a zigzag pattern for even support.
💧 Step 5: Winterize and Store (If Needed)
At season's end, untie all vines and remove plant debris to prevent disease. If you're in a cold climate, store bamboo stakes in a dry place—just lean them against a shed wall. Wooden posts can stay in the ground, but cover them with landscape fabric to protect from winter moisture. I've had the same trellis framework for five years, and it's still holding strong.
Next season, just reassemble and add fresh twine. The posts and bamboo will be ready to go, saving you time and money. This is the moment that matters: a good trellis lasts decades, while cheap alternatives collapse every year. Trust me, your back (and your tomatoes) will thank you.
Tips & tricks for sturdy tomato trellis construction
Building a trellis that actually holds up is all about the details—here's what I've learned after years of watching flimsy setups collapse under tomato weight.
Post Placement is Everything: In Step 1, when you're marking your post locations, use a string line stretched between two posts to ensure perfect alignment before driving them in. I've seen trellises that looked square at first glance but had posts slightly off-kilter—this creates weak spots where the whole structure can twist under heavy vines. Also, if your soil is rocky, pre-drill small holes for the posts to prevent cracking when you tap them in with the mallet. The extra 5 minutes now saves hours of frustration later when your trellis starts leaning.
Bamboo Stake Trick for Extra Strength: For Step 2, when attaching those horizontal bamboo stakes, I like to pre-drill small holes in the bamboo where the twine will go. This prevents the twine from cutting into the bamboo over time, which weakens the structure. Another pro move: use two knots on each side of the bamboo stake—one at the top and one at the bottom—rather than just one. This creates a more secure anchor that won't slip when vines start pulling. Trust me, you'll notice the difference when summer storms hit.
Diagonal Support Secret: In Step 3, when adding those diagonal supports, make sure they form a true "X" shape with equal angles on both sides. I use a small carpenter's square to check the angles before tying them off. This creates proper triangulation that distributes weight evenly. For even more stability, add a third diagonal (optional) between the middle and bottom stakes—this turns your trellis into a proper truss system that can handle 30-pound tomatoes without bending. The extra bamboo costs pennies but makes all the difference.
Vine Training Shortcut: When training vines in Step 4, I've found that using zip ties instead of soft plant ties (marked as optional) actually works better for heavy varieties. The zip ties are stronger and don't need retightening as often. Just be gentle when attaching them—never pull so tight that you constrict the vine's growth. And here's a little-known trick: if you see a vine growing toward the center of the trellis instead of outward, gently weave it through the next available stake in the opposite direction. This creates a natural zigzag pattern that prevents tangling and improves air circulation.
Pro Tips for Build A Tomato Trellis
- Building a trellis that actually holds up is all about the details—here's what I've learned after years of watching flimsy setups collapse under tomato weight.
- Post Placement is Everything: In Step 1, when you're marking your post locations, use a string line stretched between two posts to ensure perfect alignment before driving them in.
- Bamboo Stake Trick for Extra Strength: For Step 2, when attaching those horizontal bamboo stakes, I like to pre-drill small holes in the bamboo where the twine will go.
Frequently asked questions
Got questions about building the perfect tomato trellis? You’re not alone! Here are answers to the most common concerns—so you can get growing with confidence.
What’s the best material for a tomato trellis?
A sturdy trellis can be made from wood (cedar or pine), metal (galvanized pipes), or PVC. Wood is budget-friendly and blends into gardens, while metal or PVC lasts longer and resists rot. For heavy vines, opt for thick wooden posts (2x4s) or metal cages—they won’t sag under ripe tomatoes!
When is the best time to build a tomato trellis?
Install your trellis before planting tomatoes—ideally in early spring, 2–3 weeks ahead. This gives roots time to establish near the support. If you’re retrofitting, do it as soon as seedlings sprout (3–4 inches tall) to encourage upward growth. Late additions may stress plants.
Can I use a tomato cage instead of a trellis?
Cages (especially sturdy wire or spiral types) work great
for indeterminate varieties like ‘Sungold’ or ‘Brandywine.’ They’re low-maintenance but may need extra ties for extra-heavy fruit. For determinate tomatoes (bush types), cages are perfect—no trellis needed!
How do I keep pests away from my trellis?
Prevent critters with these tricks:
- Space trellises 3–4 feet apart to improve airflow (pests hate dry conditions).
- Use copper tape around wooden posts to deter borers.
- Apply neem oil spray to vines weekly for aphids/spider mites.
- Pick ripe tomatoes before they touch the ground to avoid rot and slugs.
What if my trellis collapses under the weight of tomatoes?
Don’t panic! Reinforce it with:
- Extra stakes or guy wires tied to the trellis for support.
- Wider bases (bury posts 12+ inches deep or add concrete anchors).
- Prune lower leaves to reduce weight on the stem.
- Harvest regularly—overripe tomatoes = extra strain!
Pro tip: Indeterminate tomatoes need more frequent pruning than determinate types.
Wrapping up and next steps
Building a tomato trellis is a simple yet rewarding project that transforms your garden into a space-saving, high-yield powerhouse! 🌱 With just a few materials and a little creativity, you’ve unlocked the secret to healthier plants, easier harvesting, and fewer pests.
Whether you chose a classic A-frame, teepee, or cage-style design, your tomatoes now have the sturdy support they need to thrive.
Now that your trellis is ready, it’s time to plant those seeds and watch your garden flourish! 🌿 Start by selecting the perfect tomato varieties for your climate, then give your trellis a try—you’ll be enjoying sun-ripened, vine-free tomatoes in no time. Happy gardening!