
Propagation
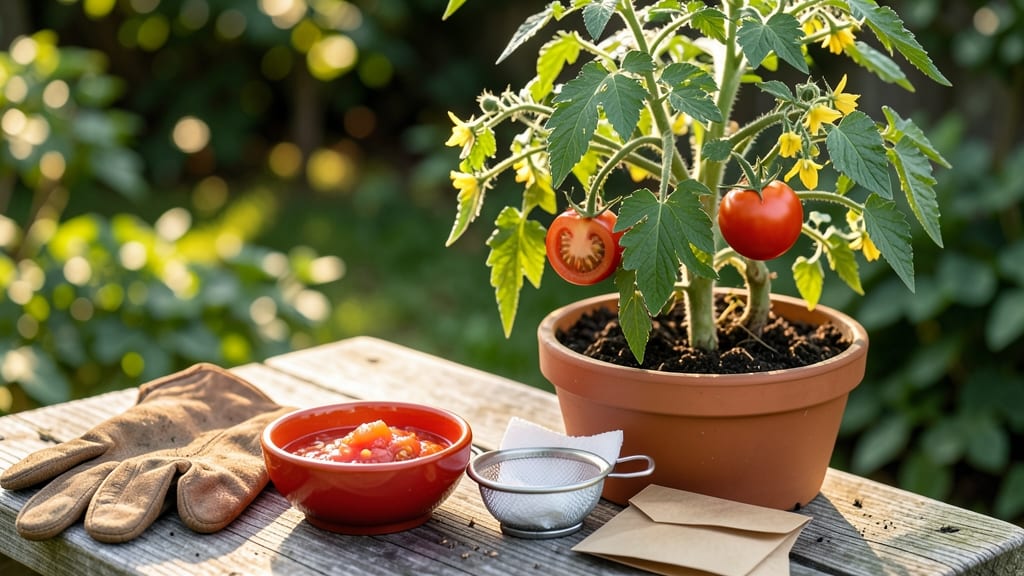
Getting tomato seeds from a tomato is the easiest way to save heirloom varieties for next year—no fancy equipment needed. 🌱 I learned this trick after buying expensive seeds that didn’t perform half as well as my own homegrown tomatoes.
The secret lies in a simple fermentation process that separates the good seeds from the slimy mess.
Start with a fully ripe tomato—those deep reds or rich yellows are packed with plump, viable seeds. Cut it open, scoop out the gel and seeds into a jar, then add water to cover.
Let it ferment for 2-4 days, stirring once daily, until the seeds sink and the gel turns into a foul-smelling liquid (don’t worry, it’s normal!).
After fermentation, pour the mixture through a fine mesh strainer, rinsing the seeds until they’re clean and odorless. Spread them on a paper towel in a single layer, then let them dry for 3-5 days in a warm, dark spot.
Once completely dry and brittle, store them in an envelope—these seeds will last for years if kept cool and dry.
This method works for any tomato variety, whether you’re saving seeds from your garden’s best producers or experimenting with new flavors. The best part? You’ll end up with seeds that grow into plants just like the ones you loved this season—foolproof and full of potential.
📚 In This Guide
- What you need
- Instructions
- Tips and common mistakes
- Wrapping up and next steps
What you need
- ● Ripe tomato: Choose a fully ripe, healthy tomato (the riper, the better! 🍅). Organic or heirloom varieties work best for seed-saving.
- ● Small bowl or container: A shallow dish (like a ramekin or small ceramic bowl) to hold the tomato pulp and water.
- ● Spoon or fork: For scooping out the tomato flesh and seeds.
- ● Fine-mesh strainer or cheesecloth: A pore size of 0.5mm or smaller (like a seed-saving strainer or even a clean coffee filter) to separate seeds from gel.
- ● Paper towels or coffee filters: Unbleached and seed-free for drying seeds (avoid colored towels—they can contaminate seeds!).
- ● Small plate or tray: For spreading seeds out to dry.
- ● Labeling supplies: A pencil or label maker and small envelopes or jars to store seeds (write the tomato variety and date!).
- ● Water: Distilled or dechlorinated water (tap water is fine for fermenting, but avoid it for final rinsing if possible).
- ● Glass jar with lid: For fermenting seeds (if you prefer a contained method).
- ● Funnel: To transfer dried seeds into storage containers neatly.
- ● Humidity dome or plastic wrap: To create a mini greenhouse for seeds if your environment is too dry.
- ● Seed catalog or notebook: To track varieties and germination notes for future planting.
Step-by-step instructions for extracting tomato seeds
Here's how I save seeds from ripe tomatoes—no fancy tools, just patience and a little science.
🍅 Step 1: Select and Prepare the Tomato
Pick a fully ripe tomato—it should be deep red (or the mature color for heirlooms) and slightly soft when gently squeezed. Avoid green or firm tomatoes; they won’t yield viable seeds. Cut the tomato in half lengthwise and scoop out the jelly-like pulp and seeds into a small bowl. Discard the skin and core.
I like to use a spoon to scrape every last bit of pulp—those tiny seeds hide in the corners! The more seeds you capture, the better your yield. If your tomato is particularly juicy, let the pulp sit uncovered for 10-15 minutes to evaporate some of the liquid. This prevents mold later.
💧 Step 2: Ferment the Seeds for Cleaning
Add 1-2 inches of warm water to the bowl of pulp and stir gently. Cover the bowl loosely with a paper towel or cloth to keep out debris but allow airflow. Place it in a warm spot—70-75°F works best—where it won’t get direct sunlight. Let it sit for 2-4 days, stirring once daily.
This fermentation step is key—it separates the viable seeds from the jelly and mold spores. You’ll see a white scum form on top (that’s good—it traps impurities). After 2 days, the good seeds will sink to the bottom while the bad ones float. Skim off the scum daily and refresh the water if it smells funky.
🪴 Step 3: Rinse, Dry, and Store the Seeds
After 3-4 days, when the seeds sink cleanly and the liquid smells fresh, pour the mixture through a fine-mesh strainer to catch the seeds. Rinse them under lukewarm water until the water runs clear. Spread the seeds on a paper towel or seed-saving screen in a single layer—don’t overlap them.
Let them dry in a warm, dry, shaded spot for 3-5 days, flipping the towel daily. The seeds are ready when they’re completely dry and brittle—they should crumble slightly if pressed between your fingers. Store them in a small envelope or airtight container in a cool, dark place. Label with the variety and date!
I keep mine in the fridge for up to 5 years, though germination drops after 2-3 years. The first time you see those plump, clean seeds ready for planting, you’ll understand why saving seeds is worth the wait.
Tips & tricks for perfect tomato seed extraction
A few simple tricks will help you get the most viable seeds from your tomatoes—and avoid the common pitfalls that waste good seeds.
Ripeness is Everything: The 10-15 minutes you let juicy pulp sit uncovered in Step 1 isn't just about preventing mold—it's about capturing every seed. I've seen people skip this and lose up to 30% of their yield because seeds stick to the bowl. Use a rubber spatula to scrape even the tiniest bits from the corners. For heirloom tomatoes with thick skins, a spoon with a slightly curved edge works best to reach those hidden seeds.
Fermentation Temperature Matters: That 70-75°F range isn't arbitrary—it's the sweet spot where beneficial bacteria work efficiently without creating too much mold. If your kitchen runs cooler, place the bowl near a warm spot like above the fridge or next to a sunny window (but not in direct sunlight). You'll know it's working right when you see that white scum forming—it's trapping impurities, not ruining your seeds!
Drying Secrets: The 3-5 days for drying might feel long, but patience pays off. I've rushed this step before and ended up with seeds that either didn't dry properly (sticking together) or were too brittle (crushing when planted). Place your drying tray on a wire rack over a baking sheet to catch any moisture drips. A small fan on low setting can speed up drying by 1-2 days without overheating the seeds.
Storage Wisdom: That 5-year fridge storage time is impressive, but here's what nobody tells you—write the date on your envelope in pencil, not pen! The germination rate starts dropping after 2-3 years, so if you're saving seeds for next year's garden, use the oldest seeds first. For long-term storage beyond 5 years, consider vacuum-sealed bags in the freezer—they can last up to 10 years this way.
Pro Tips for Get Tomato Seeds From A Tomato
- A few simple tricks will help you get the most viable seeds from your tomatoes—and avoid the common pitfalls that waste good seeds.
- Ripeness is Everything: The 10-15 minutes you let juicy pulp sit uncovered in Step 1 isn't just about preventing mold—it's about capturing every seed.
- Fermentation Temperature Matters: That 70-75°F range isn't arbitrary—it's the sweet spot where beneficial bacteria work efficiently without creating too much mold.
Frequently asked questions
Got questions about saving tomato seeds? We’ve got answers! Here are some of the most common queries to help you troubleshoot and succeed.
Can I save seeds from store-bought tomatoes?
It’s possible, but results may vary. Store-bought tomatoes are often hybridized for flavor, size, or shelf life—not seed viability. If you want reliable seeds, save them from heirloom or open-pollinated varieties. If you try with store-bought, expect lower germination rates.
How long do tomato seeds need to ferment before drying?
Ferment your seeds for 2–4 days at room temperature. The goal is to break down the gel-like coating around the seeds, which helps them dry properly. If the mixture smells sour (like vinegar), it’s ready! Skip fermentation if you’re in a hurry, but germination may be less consistent.
What if my seeds mold during fermentation?
Mold is a sign of over-fermentation or contamination. If you see fuzzy growth, discard the mixture and start fresh with a new batch of seeds. To prevent mold, use clean water, a sealed container, and keep it in a cool, dark place. A little mold on the surface? Rinse the seeds gently before drying.
Can I dry tomato seeds in the sun instead of an oven?
Yes! Spread seeds on a paper towel or screen in a warm, dry, shaded spot for 3–7 days. Avoid direct sunlight, which can overheat and crack the seeds. Stir them occasionally for even drying. If humidity is high, an oven on low (100–130°F) is safer for consistent results.
How should I store tomato seeds for next year?
Keep seeds in a cool, dry, dark place in an airtight container (like a small jar or envelope). Label them with the variety and date! Seeds stay viable for 2–5 years, though germination rates drop over time. For best results, use them within 1–2 years for optimal sprouting.
Wrapping up and next steps
You’ve now mastered the art of saving tomato seeds—what a rewarding skill! 🌱 Whether you’re a seasoned gardener or just starting out, these clean, dry seeds are your ticket to growing fresh, homegrown tomatoes next season. Now that you’ve got your seeds ready, why not take the next step?
Try planting a few in small pots or seed trays to watch them sprout into seedlings. Pro tip: Label your seeds with the tomato variety and date for future reference—you’ll thank yourself later! Happy growing, and may your garden flourish with homegrown goodness.