
Vegetables
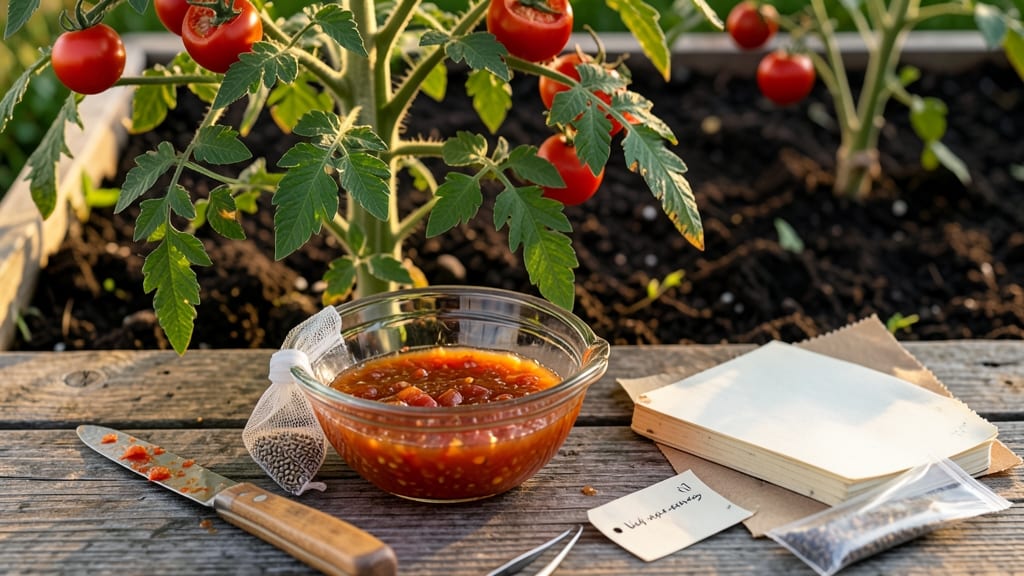
Collecting tomato seeds from your best fruit is the easiest way to grow varieties you’ll never find in stores. 🌱 The process is simpler than it sounds—just a few steps between ripe tomato and next year’s seedlings.
I’ve saved seeds for five seasons now, and the results are worth the small effort: heirloom flavors, disease-resistant plants, and the satisfaction of growing from your own harvest.
Start with the ripest, healthiest tomatoes from your best-performing plants—these will produce the strongest seeds. You’ll need just a few supplies: a clean bowl, a spoon, a fine mesh strainer or paper towel, and a labeled envelope for storage.
The real magic happens during fermentation, where good seeds sink and bad ones float away.
After a few days of fermentation, rinse the settled seeds, dry them completely, and store them in a cool, dark place. Properly saved seeds stay viable for 3-5 years, though germination rates drop slightly over time.
By next spring, you’ll be planting seeds that carry the exact traits you loved this season—no store-bought plants needed.
This method works for all tomato types, from slicers to paste varieties, and even adapts to small-space gardeners. The only requirement? Patience—good seeds take time to mature, but the payoff is a garden that truly reflects your preferences. Ready to start saving?
📚 In This Guide
- What you need
- Instructions
- Tips and common mistakes
- Wrapping up and next steps
What you need
- ● Mature tomato plants – Choose heirloom or open-pollinated varieties (hybrids won’t produce true seeds). Aim for at least 3-5 healthy plants for variety.
- ● Ripe tomatoes – Select fully colored, soft, and slightly overripe tomatoes (they’ll burst easily). 10-20 tomatoes per variety is ideal.
- ● Small bowls or containers – 2-3 shallow dishes (ceramic, glass, or plastic) for fermenting seeds.
- ● Water – Distilled or dechlorinated (let tap water sit out for 24 hours to remove chlorine).
- ● Fine-mesh strainer or sieve – A #200 mesh strainer (74 microns) works best for separating seeds from pulp.
- ● Paper towels or coffee filters – For drying seeds. Use unbleached, seed-free paper to avoid contamination.
- ● Small paper envelopes or seed packets – 5-10 envelopes (label with variety name + date).
- ● Permanent marker or labels – To mark varieties and harvest dates.
- ● Spray bottle with water – For misting seeds during drying.
- ● Gel seed packets – For long-term storage (lasts 5+ years).
- ● Desiccant packets – To keep moisture out of seed storage containers.
- ● Magnifying glass – For inspecting seeds for mold or damage.
- ● Notebook – To track germination rates, varieties, and growing conditions.
- ● Food-safe bleach (diluted) – 1 tsp bleach per gallon of water for sanitizing tools if mold is a risk.
- ● Humidity dome or plastic wrap – For speeding up germination tests (if you want to check viability).
Step-by-Step instructions for collecting tomato seeds
Here's the straightforward method I use every year to save seeds from my best tomatoes.
🍅 Step 1: Select and Save the Best Tomatoes
Pick 4-6 ripe tomatoes from your healthiest plants—the ones with the best flavor and disease resistance. Look for fully colored fruit that yields slightly to gentle pressure. I always choose the largest, most flavorful specimens from my favorite varieties, since seed quality depends on parent plant vigor.
Cut the tomatoes open and scoop out the gel and seeds into a small bowl. Avoid any tomatoes showing signs of rot or disease, as contaminated seeds will produce weak plants. The more uniform and healthy your starting fruit, the better your saved seeds will perform next season.
💧 Step 2: Ferment the Seeds for Clean Separation
Add enough water to cover the seeds and gel mixture by about ½ inch. Stir gently and let it sit at room temperature (65-75°F) for 2-4 days. You'll see a frothy scum develop on top—that's normal. The fermentation process breaks down the gel and helps separate viable seeds from the pulp.
Stir the mixture once daily to keep oxygen circulating. After 2-3 days, the good seeds will sink to the bottom while the pulp and bad seeds float to the surface. Pour off the floating debris, leaving only the settled seeds in the bowl. This simple fermentation removes weak seeds and prevents disease transmission.
⏰ Step 3: Rinse and Dry the Seeds
Transfer the settled seeds to a fine-mesh strainer and rinse them thoroughly with cool water until the water runs clear. This removes any remaining gel. Spread the seeds on a paper towel or seed drying screen, ensuring they're in a single layer with no overlapping. I like to label the paper towel with the variety and date.
Place the seeds in a warm, dry location (around 70°F) with good air circulation but no direct sunlight. They should dry completely in 3-5 days—when they're ready, they'll be hard and dark in color. You'll know they're properly dried when they make a crisp sound when rubbed between your fingers. Store them in a small envelope or airtight container in a cool, dark place.
🌱 Step 4: Test Viability Before Planting
Before you get excited about next year's garden, test your seeds' viability. Place 10 seeds between two damp paper towels in a sealed plastic bag. Keep them at 70°F and check daily. After 5-7 days, count how many have sprouted. If 80% or more germinate, your seeds are ready for planting. If fewer than half sprout, consider saving more seeds next year or buying fresh ones.
This simple test saves you from planting dozens of seeds only to find they won't grow. I always test a small batch from each variety to ensure I'm not wasting time on low-quality seeds. Store your viable seeds in a cool, dry place—they'll keep for 2-4 years if properly dried and stored.
Tips & tricks for perfect tomato seed saving
These simple tricks will help you maximize your seed yield and ensure top-quality plants next season.
Selection Tip: In Step 1, avoid selecting tomatoes that have been exposed to extreme heat or cold—they can produce seeds with lower viability. I've learned this the hard way after saving seeds from sun-scorched tomatoes that resulted in weak seedlings. Choose fruit that's fully colored and firm but yields slightly when gently squeezed. This ensures you're starting with the healthiest genetic material possible.
Fermentation Strategy: The 2-4 day fermentation in Step 2 is crucial for removing weak seeds. I've found that stirring once daily makes a noticeable difference in separation quality. If you're in a cooler environment (below 65°F), you might need to extend fermentation by an extra day or two. The goal is to see clear separation between sinking seeds and floating pulp—this tells you the process worked properly.
Drying Technique: When drying seeds in Step 3, I recommend using a seed drying screen if available—they provide perfect airflow. If you're using paper towels, place them on a mesh rack to prevent moisture buildup underneath. The seeds are ready when they make a crisp sound between your fingers, which usually takes 3-5 days at 70°F. Proper drying prevents mold and ensures long-term storage viability.
Storage Wisdom: After your seeds are completely dry, store them in small envelopes with the variety name and date clearly labeled. I keep mine in a cool, dark place like a sealed jar in my pantry. The 2-4 year shelf life mentioned in Step 4 assumes proper drying and storage conditions—moisture is the enemy of seed longevity, so keep them in airtight containers with silica gel packets if possible.
Pro Tips for Collect Tomato Seeds For Next Year
- These simple tricks will help you maximize your seed yield and ensure top-quality plants next season.
- Selection Tip: In Step 1, avoid selecting tomatoes that have been exposed to extreme heat or cold—they can produce se...
- Fermentation Strategy: The 2-4 day fermentation in Step 2 is crucial for removing weak seeds. I've found that stirrin...
Frequently asked questions
Got questions about saving tomato seeds? You’re not alone! Here are answers to the most common concerns—from timing to troubleshooting—to help you master the process like a pro.
Do I need to let tomato seeds ferment before drying them?
Yes! Fermenting seeds for 2–4 days in water removes the gelatinous coating (which can inhibit germination) and helps separate viable seeds. Just leave them in a jar, stir daily, and watch the moldy scum rise to the top—skim it off before rinsing and drying!
How long should I dry the seeds before storing them?
Dry seeds thoroughly for 3–5 days on a paper towel or seed-saving screen in a warm, well-ventilated spot (like a sunny windowsill). They’re ready when crispy—no moisture left. Store in a cool, dark place (like a sealed envelope or jar) for up to 4 years!
Can I save seeds from hybrid or heirloom tomatoes?
Only heirloom tomatoes will grow true to type—hybrid seeds produce unpredictable plants. Check your seed packet or ask the seller. If unsure, ferment and test a few seeds to see if they sprout reliably before committing to a full harvest.
What if my seeds don’t germinate next year?
Don’t panic! Low germination can mean old seeds, poor drying, or storage issues. Try these fixes:
- Test viability: Soak seeds in water—sinkers are likely viable.
- Use a seed starter: Warmth and humidity (like a seedling mat) can boost weak seeds.
- Try a different method: Some gardeners swear by stratification (chilling seeds) for stubborn varieties.
Can I save seeds from store-bought tomatoes?
Maybe! If the tomato is labeled “heirloom” or “open-pollinated”, go for it. But avoid hybrids (like most grocery-store tomatoes)—they won’t reproduce true to type. When in doubt, ask the seller or check online for variety details before collecting seeds.
Wrapping up and next steps
Collecting tomato seeds is a rewarding way to ensure a thriving garden next season—plus, it’s free!
By letting ripe tomatoes ferment, rinsing the seeds, and drying them properly, you’ll preserve heirloom varieties and save money. Now that you’re equipped with the know-how, why not try it with a few of your favorite tomatoes this year? 🌱💚
Ready to take it further? Share your seed-saving tips with fellow gardeners or experiment with germination tests to see which varieties sprout best. Happy growing!