
Companion Plants
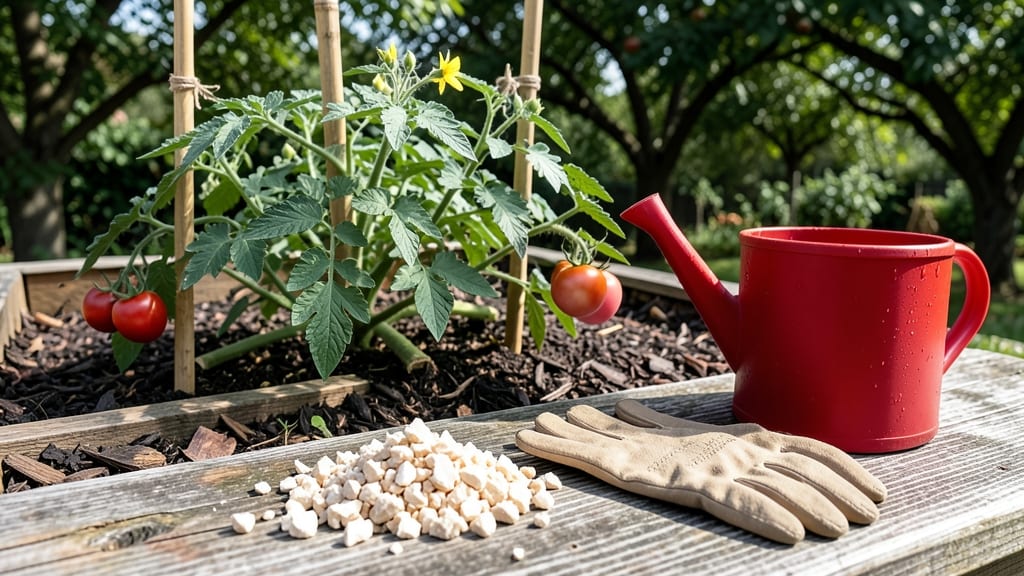
Calcium for tomato plants turns your tomatoes into sad, mushy messes—until you fix the real problem: calcium. 🌱 My first garden had rows of tomatoes with those ugly brown scars, and I thought it was a disease.
Turns out, it was just a hungry plant screaming for help, and the solution is simpler than you'd think.
Calcium strengthens cell walls, especially in fast-growing tomatoes, and when the soil can't keep up, the plant shows its frustration with those classic dark spots on the blossom end. The good news?
You don't need fancy equipment—just a few easy fixes like crushed eggshells, lime, or even a quick foliar spray. I've seen plants recover in just 10 days after proper calcium treatment.
You'll notice healthier fruit formation, fewer deformed tomatoes, and plants that look like they're thriving instead of struggling. The key is prevention: test your soil, amend before planting, and keep the roots happy with consistent moisture. No more wasted harvests—just juicy, blemish-free tomatoes.
Works for both garden beds and containers, and the methods scale from a single plant to an entire plot. Let's get those tomatoes back to their best—no more sad, shriveled ends in sight.
📚 In This Guide
- What you need
- Instructions
- Tips and common mistakes
- Wrapping up and next steps
What you need
- ● Calcium Source: Calcium Nitrate (15.5% Ca, 15.5% N) – 1 tbsp per gallon of water (for liquid feed)
- ● Gypsum (Calcium Sulfate) – 1–2 lbs per 10 sq ft of soil (for soil amendment)
- ● Crushed Eggshells – 1 cup per plant (natural, slow-release option)
- ● Lime (Calcium Carbonate) – 1–2 lbs per 100 sq ft (adjust pH carefully—test soil first!)
- ● Watering Tools: Watering can or hose with spray nozzle (for even distribution)
- ● Measuring cup or scale (for precise calcium source amounts)
- ○ Soil Test Kit – Optional but recommended to check calcium/magnesium levels before treating.
- ○ Gloves & Dust Mask – Optional for handling gypsum or lime (especially in dry conditions).
- ○ pH Test Strips – Optional to monitor soil pH (ideal range: 6.0–6.8 for tomatoes).
- ○ Garden Fork or Tiller – Optional for mixing amendments into heavy or compacted soil.
How to prevent blossom end rot in tomato plants using calcium
Here's the straightforward method I've used to eliminate rot and boost tomato yields—no guesswork, just science-backed steps.
🌱 Step 1: Diagnose Calcium Deficiency Symptoms
Blossom end rot appears as dark, sunken spots on the bottom of fruit, but calcium issues often show earlier. Check leaves first for interveinal chlorosis—yellowing between leaf veins while veins stay green. This is your first sign of calcium uptake problems before fruit symptoms appear.
New leaves developing at the top of the plant often look healthy while lower leaves yellow and crisp. This is classic calcium deficiency because the plant prioritizes new growth over older tissue. Don't wait for fruit to rot—address this when you first notice leaf symptoms. The earlier you intervene, the faster your plants recover.
💧 Step 2: Apply Calcium Through Multiple Methods
Use a combination of soil amendment and foliar spray for best results. Start by mixing 1 tablespoon of gypsum (calcium sulfate) into the soil around each plant at the base. Gypsum is ideal because it's 90% calcium with no additional nutrients that might throw off your plant's balance. Work it into the top 2-3 inches of soil gently to avoid disturbing roots.
For immediate uptake, prepare a foliar spray by dissolving 1 teaspoon of calcium nitrate in 1 gallon of water. Spray the solution onto leaves until they're uniformly damp, focusing on the undersides where stomata absorb nutrients most efficiently. Apply in the early morning so leaves have time to dry before evening. Repeat every 7-10 days until new growth shows improved calcium levels.
☀️ Step 3: Adjust Watering and Environmental Conditions
Calcium becomes unavailable to plants when soil pH drops below 6.0 or when watering creates uneven moisture. Test your soil pH—if it's below 6.0, add pelletized lime to raise it to 6.2-6.8. The goal is to keep calcium soluble in the soil solution. Water deeply 2-3 times per week rather than daily shallow watering, which prevents calcium from moving to roots.
Watch for fluctuating soil moisture—this is the #1 cause of calcium deficiency symptoms. Use a moisture meter to verify the top 2 inches of soil are consistently moist but not soggy. Mulch with 2-3 inches of straw or wood chips to maintain even moisture levels. You'll see new leaves develop with darker green color and thicker cell walls within 2-3 weeks of consistent calcium application and proper watering.
✂️ Step 4: Monitor and Maintain Calcium Levels
Remove any fruit showing early signs of blossom end rot immediately—don't wait for it to spread. The plant diverts energy to salvage damaged fruit, which worsens overall calcium deficiency. Prune suckers and lower leaves to improve air circulation, which helps prevent fungal infections that can mimic calcium deficiency symptoms.
Every 4-6 weeks, retest soil calcium levels using a soil test kit. Aim for 1,500-2,000 ppm calcium in the soil solution. If you're growing in containers, replace the top 2 inches of soil annually to prevent calcium buildup that can actually inhibit nutrient uptake. Your goal is consistent, available calcium—not just adding it once and forgetting.
Tips & tricks for preventing blossom end rot in tomatoes
These science-backed strategies will help you eliminate calcium deficiency symptoms and keep your tomato plants thriving.
Diagnosis Timing: Don't wait for fruit to show symptoms—calcium deficiency often appears first on leaves as interveinal chlorosis. I check leaves every 7-10 days during the growing season, especially after heavy watering or when new leaves emerge. The earlier you spot these yellowing patterns between veins, the faster you can correct the issue before it reaches your tomatoes.
Calcium Application Strategy: The key to success is combining both soil amendment and foliar spray as outlined in Step 2. I've found that mixing 1 tablespoon of gypsum into the top 2-3 inches of soil provides long-term calcium, while the foliar spray with 1 teaspoon of calcium nitrate per gallon gives immediate results. Apply the foliar spray in the morning to prevent fungal growth from overnight moisture—this is critical for proper absorption.
Watering Consistency: Fluctuating moisture levels are the #1 cause of calcium deficiency symptoms. I use a moisture meter to verify the top 2 inches of soil stay consistently moist but never soggy. The 2-3 times per week deep watering schedule prevents calcium from becoming unavailable, and the 2-3 inches of mulch helps maintain even moisture levels. This consistency is what transforms struggling plants into productive ones within just 2-3 weeks.
Monitoring Maintenance: The 4-6 week soil test schedule is non-negotiable for container growers. I've seen calcium buildup in pots after just one season, which actually inhibits nutrient uptake. For in-ground plants, focus on the visual cues: new leaves should develop with darker green color and thicker cell walls as your calcium levels improve. This visual feedback tells you whether your efforts are working.
Pro Tips for Calcium For Tomato Plants
- These science-backed strategies will help you eliminate calcium deficiency symptoms and keep your tomato plants thriv...
- Diagnosis Timing: Don't wait for fruit to show symptoms—calcium deficiency often appears first on leaves as intervein...
- Calcium Application Strategy: The key to success is combining both soil amendment and foliar spray as outlined in Ste...
Frequently asked questions
Got questions about calcium for your tomato plants?
You’re not alone! Here are answers to the most common queries to help you grow healthier, rot-free tomatoes with ease.
Why do tomato plants need calcium?
Calcium strengthens cell walls, preventing blossom end rot (that ugly black bottom on tomatoes) and improving overall plant structure. Without enough calcium, your plants may struggle even if they get plenty of water or nutrients. Think of it as the "glue" holding your tomatoes together!
When should I add calcium to my tomato plants?
Start before flowering (when blossoms form) for best results. You can also add it as a foliar spray during dry spells or when you spot early signs of rot. Consistency is key—don’t wait until problems appear!
What’s the cheapest way to add calcium to tomato plants?
Skip expensive supplements! Crushed eggshells (baked and ground), gypsum (calcium sulfate), or even lime (sparingly) work great. For a quick fix, mix 1 tablespoon of eggshell powder per plant into the soil every 4–6 weeks.
Can I overdo calcium for tomato plants?
Yes—too much calcium can block other nutrients like magnesium or iron, causing yellowing leaves. Stick to the recommended rates (e.g., 1–2 pounds of gypsum per 100 sq ft) and monitor your plants. Balance is everything!
Will calcium help my tomatoes grow bigger?
Indirectly! While calcium won’t magically enlarge your tomatoes, it reduces rot and stress, letting your plants focus on fruit production. Pair it with proper watering, sunlight, and potassium for the best results.
How do I know if my tomato plants need more calcium?
Watch for these signs:
- Blossom end rot: Dark, sunken spots on the fruit’s bottom.
- Weak stems: Plants that wilt easily or have brittle growth.
- Stunted blossoms: Flowers drop off before setting fruit.
Wrapping up and next steps
Growing thriving tomato plants is all about giving them the right care—and calcium is a game-changer! 🌱 By preventing blossom end rot and boosting cell wall strength, this essential nutrient ensures your tomatoes grow juicy, healthy, and bountiful.
Whether you’re using crushed eggshells, calcium nitrate, or lime, consistency is key.
Now that you’re armed with the know-how, it’s time to roll up your sleeves and put it into action. Start with a soil test, apply your chosen calcium source, and monitor your plants closely. Happy gardening—and enjoy those delicious, rot-free tomatoes! 🍅✨