
Planting
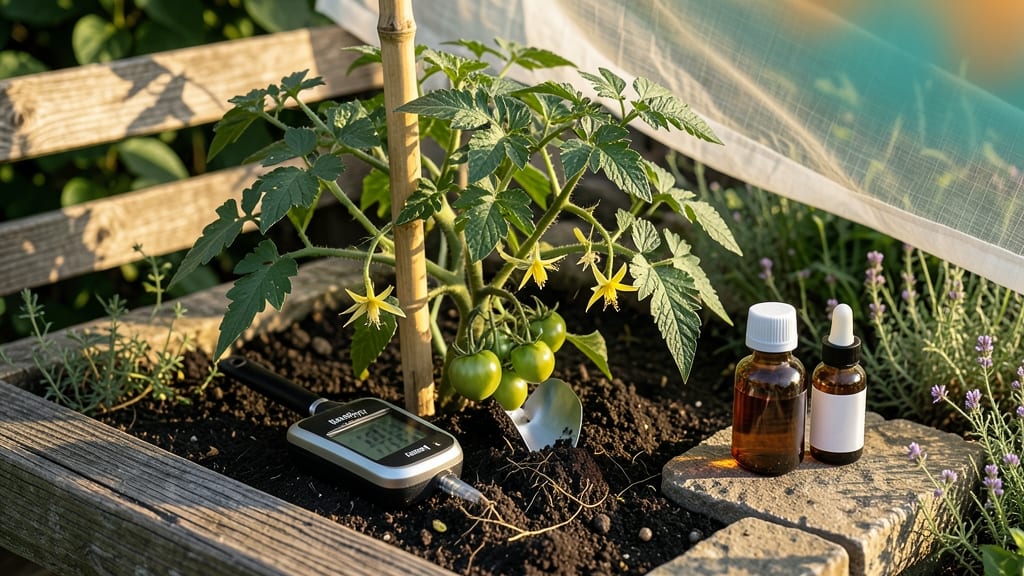
Your tomato plants' soil pH isn't just a number—it's the secret to bursting harvests that put store-bought tomatoes to shame. 🌱 I learned the hard way when my prized heirlooms produced tiny, bland fruit because the soil was too alkaline.
The ideal range of 6.2–6.8 unlocks everything from flavor to disease resistance, and adjusting it isn't as scary as it sounds.
Testing your soil is the first step, and you don't need a fancy lab—simple test kits or even a DIY baking soda/water test will tell you where you stand.
If the pH is off, small amendments like pelletized lime (for acidity) or elemental sulfur (for alkalinity) can shift it within weeks. The key is patience and regular checks, especially after rain or heavy watering.
When your soil pH is just right, you'll notice thicker stems, brighter green leaves, and—most exciting—heavy clusters of sweet, juicy tomatoes by midseason. Even minor tweaks can mean the difference between a disappointing harvest and the kind of produce your neighbors will beg for.
The best part? These adjustments work for containers too.
Once you've got the pH dialed in, maintain it with organic compost and mulch to stabilize the soil naturally. Avoid overdoing it with amendments, as drastic shifts can stress plants. Think of it like tuning a guitar—small adjustments keep everything in harmony. Now let's get those tomatoes thriving!
📚 In This Guide
- What you need
- Instructions
- Tips and common mistakes
- Wrapping up and next steps
What you need
- ● Soil pH testing kit (digital or liquid test strips—choose one with a range for acidic to slightly alkaline soils, like 4.0–9.0).
- ○ Garden soil (well-draining, loose mix—aim for 6.0–6.8 pH for tomatoes). Optional: Pre-mixed tomato soil or compost blend.
- ● Lime (pelletized or agricultural) (to raise pH if needed—1–2 lbs per 100 sq ft for minor adjustments).
- ● Sulfur (elemental or aluminum sulfate) (to lower pH—5–10 lbs per 100 sq ft for acidic soils).
- ○ pH adjusters (optional) like wood ash (raises pH) or peat moss (lowers pH slightly).
- ● Garden trowel or shovel (for soil mixing and testing spots).
- ● Gloves (to protect hands from soil and chemicals).
- ● Watering can or hose (for moistening soil before testing).
- ● pH buffer solution (if using liquid test kits)—check kit instructions.
- ● Tomato seedlings or seeds (if starting from scratch!).
- ● Sunny garden spot (6+ hours of sunlight daily)—non-negotiable for tomatoes! 🌞
- ● Test soil in multiple spots—pH can vary across your garden!
- ● Avoid over-adjusting—small tweaks (e.g., 0.5 pH units) work best.
- ● Re-test after 2–4 weeks if you adjusted pH to ensure stability.
Step-by-Step guide to testing and adjusting tomato soil pH
Here's how I dial in the perfect soil pH for tomatoes—no guesswork, just science-backed results.
🌱 Step 1: Test Your Current Soil pH
Use a reliable soil pH test kit (digital or liquid-based) for accuracy. Collect samples from 4-6 inches deep in multiple spots across your garden bed or container. Mix these into a composite sample—this gives you an average reading that reflects the whole growing area.
Moisten the soil with distilled water (tap water contains minerals that skew results) and follow the kit instructions. Tomatoes thrive at a pH between 6.2 and 6.8, but most garden soils run closer to neutral (7.0) or slightly acidic (5.5-6.0). If your reading falls outside 6.0-6.5, adjustments will be needed before planting.
☀️ Step 2: Prepare Soil for pH Adjustment
Work 2-3 inches of compost into the top 6-8 inches of soil to improve structure and nutrient availability. This organic matter helps buffer pH swings naturally. For containers, mix 1 part compost with 2 parts potting mix—this creates a loose, well-draining medium that holds moisture without compacting.
If your soil is sandy or clay-heavy, add 1-2 inches of peat moss (to lower pH) or ground limestone (to raise pH) based on your test results. Avoid quick fixes like wood ash—it raises pH dramatically and can lock out essential nutrients like phosphorus.
💧 Step 3: Adjust pH Gradually for Tomatoes
For acidic soil (above 6.8), sprinkle elemental sulfur evenly over the bed at a rate of 5 pounds per 100 square feet. Water thoroughly to activate the sulfur—it takes 4-6 weeks to lower pH by 1 full point. Re-test after this period before planting.
For alkaline soil (below 6.0), apply pelletized lime at 10 pounds per 100 square feet and till it in. Lime takes 2-3 months to fully adjust pH, so plan ahead if starting from scratch. For containers, use 1 tablespoon of dolomitic lime per gallon of mix—this is a slower but more precise method.
⏰ Step 4: Maintain Ideal pH Through the Season
Re-test soil pH every 4-6 weeks during the growing season, especially after heavy rains or fertilizer applications. Tomatoes absorb nutrients most efficiently in the 6.2-6.8 range, so small adjustments may be needed. A liquid pH test kit is fastest for mid-season checks.
If you notice yellowing leaves with green veins (iron deficiency) or purple stems (phosphorus deficiency), your pH may have drifted. These are classic signs of nutrient lockout in tomatoes. A balanced organic fertilizer like 5-5-5 can help, but the root issue is almost always pH-related.
🌿 Step 5: Optimize for Container-Grown Tomatoes
Container soils dry out faster and compact more easily, so re-test pH every 2 weeks during peak growing months. Use a soil moisture sensor to avoid overwatering, which can leach nutrients and destabilize pH. For 5-gallon containers, mix 1 teaspoon of sulfur (for acid-loving varieties) or ½ teaspoon of lime into the potting mix before planting.
Top-dress with 1 inch of compost every 4-6 weeks to maintain organic matter and buffer pH naturally. This is especially critical in containers, where nutrients deplete quickly. Avoid synthetic fertilizers high in salt—they can further disrupt pH balance over time.
Tips & tricks for perfect tomato soil pH balance
Here's what I've learned after years of testing—and how to avoid the most common pitfalls.
Testing Accuracy: The key to reliable pH testing starts with proper sampling. When collecting your soil from 4-6 inches deep, use a clean trowel to avoid contamination. I've ruined multiple tests by using dirty tools that introduced foreign minerals. Also, always use distilled water—tap water's minerals can throw off your readings by up to 0.5 pH points. For containers, take samples from multiple spots since pH can vary dramatically in small spaces.
Compost Application Strategy: The 2-3 inches of compost in Step 2 isn't just about nutrients—it's your first line of pH defense. Work it into the top 6-8 inches to create a buffer zone that prevents extreme pH swings. For heavy clay soils, I recommend adding compost in layers: spread 1 inch, till it in, then repeat. This gradual approach prevents compacting while improving structure. And remember, fresh manure can spike pH temporarily—always use well-aged compost.
Timing for pH Adjustments: Patience is critical when modifying pH. Elemental sulfur takes 4-6 weeks to lower pH by just 1 point, so don't rush the process. I've seen gardeners overapply sulfur hoping for faster results, only to end up with toxic levels. For lime applications, the 2-3 month adjustment period means you need to plan ahead—especially for container tomatoes where space is limited. Mark your calendar when you make adjustments to track progress accurately.
Container-Specific Secrets: Container gardens require extra vigilance. The 2-week re-testing frequency is non-negotiable because pH can shift rapidly in confined spaces. I've had container tomatoes show deficiency symptoms within 10 days of heavy watering! For 5-gallon containers, pre-mix your sulfur or lime directly into the potting soil rather than adding it later—this ensures even distribution. And always use a moisture sensor; overwatering leaches nutrients and destabilizes pH faster than you might think.
Pro Tips for Tomato Plant Soil Ph
- Here's what I've learned after years of testing—and how to avoid the most common pitfalls.
- Testing Accuracy: The key to reliable pH testing starts with proper sampling. When collecting your soil from 4-6 inch...
- Compost Application Strategy: The 2-3 inches of compost in Step 2 isn't just about nutrients—it's your first line of ...
Frequently asked questions
Got questions about getting your tomato plant soil pH just right? You’re not alone! Here are some of the most common queries—plus quick, actionable answers to keep your tomatoes thriving.
What’s the ideal pH range for tomato plants?
The sweet spot for tomato plants is a slightly acidic to neutral range: 6.0 to 6.8. This pH ensures your plants can soak up essential nutrients like nitrogen, phosphorus, and potassium without stress. Test your soil with a simple kit (available at garden centers) to confirm before planting!
How do I know if my soil pH is too high or too low for tomatoes?
Watch for these red flags:
- Too high (alkaline, pH >7.0): Yellowing leaves (especially older ones), stunted growth, or blossom-end rot.
- Too low (acidic, pH <5.5): Dark green or purple-tinged leaves, poor flowering, or weak stems.
When’s the best time to adjust soil pH for tomatoes?
Plan ahead! Test and amend your soil 4–6 weeks before planting (or transplanting seedlings). This gives microbes time to break down amendments and stabilize the pH. For container-grown tomatoes, adjust pH when repotting—fresh potting mix often needs a quick tweak to hit the 6.0–6.8 range.
Can I grow tomatoes in soil that’s not perfectly balanced?
Tomatoes are flexible but perform best in the 6.0–6.8 range. If your soil is slightly off (e.g., 5.5–7.0), they’ll survive but may struggle with nutrient uptake or disease. For extreme pH levels (<5.0 or >8.0), amend aggressively or opt for container gardening with pre-mixed pH-balanced soil.
How often should I retest soil pH for tomato plants?
Check pH annually or if you notice growth issues. Soil pH can shift over time due to weather, organic matter breakdown, or fertilizers. For container gardens, test every 2–3 months since potting mix depletes faster. A quick dip test kit makes it easy!
Wrapping up and next steps
Mastering your tomato plant soil pH is the secret to thriving vines and mouthwatering harvests! 🌱 With the right balance—typically 6.0 to 6.8—you’re already setting your garden up for success.
Remember, small adjustments (like lime for acidity or sulfur for alkalinity) can make a big difference, so don’t hesitate to test and tweak as you go.
Now that you’re armed with knowledge, grab those gloves and get growing! Start by testing your soil today, then monitor your plants’ progress. Happy gardening—your future tomato sandwiches are waiting! 🍅😋