
Planting
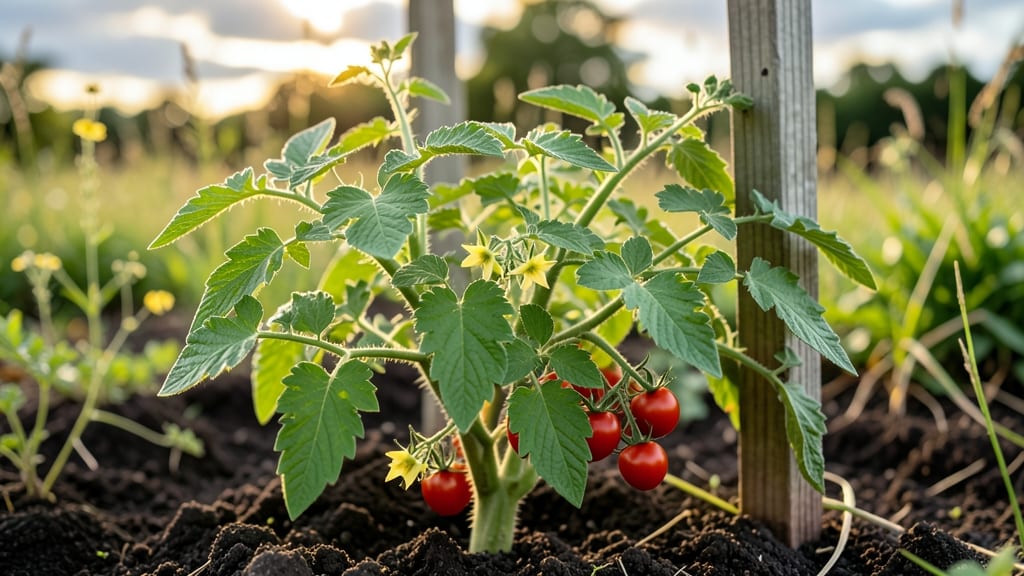
Your cherry tomato plant’s leaf is turning yellow—don’t panic, but act fast before it becomes a full-blown crisis. 🌱 I’ve nursed more than a dozen tomato plants back to health, and the root cause is almost never what beginners assume.
Most yellow leaves start with a simple fix: water, nutrients, or pests hiding in plain sight.
First, check the soil moisture with your finger—if it’s bone-dry or soggy, that’s your culprit. Then look for telltale signs: crispy edges mean underwatering, while mushy stems or brown spots scream overwatering or fungal trouble. The good news? These fixes take less than 10 minutes and cost almost nothing.
By the end of this, your plants will be bouncing back with vibrant green leaves and a fresh wave of cherry tomatoes. The secret is acting fast—before the problem spreads to the fruit. Here’s exactly how to diagnose and reverse it, step by step.
Works for both container and in-ground plants, and the same principles apply to other tomato varieties too. Let’s get those leaves healthy again—before the pests or disease move in for good.
📚 In This Guide
- What you need
- Instructions
- Tips and common mistakes
- Wrapping up and next steps
What you need
- ● Cherry tomato plant: 1 healthy seedling or mature plant (ensure it’s disease-free 🌿)
- ● Containers or garden bed: Option 1: 5-gallon pots (2–3 for multiple plants) with drainage holes
- ● Option 2: Raised garden bed (minimum 12" deep, 4’x8’ for 4–6 plants)
- ● Potting mix: 1 bag (1.5–2 cubic feet) of well-draining organic mix (e.g., Miracle-Gro or homemade blend: 60% peat moss, 30% perlite, 10% compost)
- ● Fertilizer: Balanced liquid fertilizer (10-10-10 or 5-5-5, 1 gallon)
- ● Epsom salt (1 lb) for magnesium deficiency
- ● Watering can or hose: With a gentle spray nozzle
- ● Pruning shears: Sharp, sterilized pair (for trimming diseased leaves)
- ● pH test kit: To check soil acidity (ideal range: 6.0–6.8 for tomatoes)
- ● Magnifying glass: For inspecting leaves for pests (e.g., aphids or spider mites)
- ● Gloves: Disposable or reusable for handling soil/leaves
- ● Spray bottle: For diluted neem oil (1 tsp neem oil + 1 quart water) if pests are suspected
- ● Sunlight: 6–8 hours of direct sunlight daily (south-facing window or outdoor spot)
- ● Temperature: Warmth (70–85°F)—cherry tomatoes thrive in heat!
- ● Water access: Consistent moisture (avoid soggy soil—water when top 1" is dry)
How to fix yellowing leaves on cherry tomato plants
Here's the straightforward approach I use whenever my cherry tomatoes start looking sad.
🌿 Step 1: Check Watering Habits First
Yellowing leaves on cherry tomatoes usually start with watering issues. I always check if the soil feels dry 1-2 inches down—that's where roots actively pull moisture. If it's bone dry, water deeply until it drains from the bottom of the pot or soil, then wait until the top inch feels dry again. Overwatering causes yellowing too, so never let plants sit in soggy soil.
Here's the thing—cherry tomatoes hate wet feet. If you see yellowing between veins, that's classic overwatering. Let the soil dry out more between waterings. I use my finger to test moisture daily during hot spells, and you'll notice the difference within a week.
☀️ Step 2: Assess Light Exposure
Yellow leaves can also mean your plants aren't getting enough light. Cherry tomatoes need 6-8 hours of direct sun daily. If leaves are pale yellow and leggy, move the plant to a sunnier spot immediately. A south-facing window or outdoor location works best—north-facing spots just won't cut it.
I know it seems weird, but sometimes you need to rotate pots a quarter turn weekly so plants grow evenly. You'll see new leaves emerge within a week—that's your signal everything is working. If you're growing indoors, supplement with a grow light 4-6 inches away for 12-14 hours daily.
💧 Step 3: Test Soil and Fertilizer Balance
Yellowing can also mean nutrient deficiencies. I always check the soil pH first—cherry tomatoes prefer 6.0-6.8. If your soil feels compacted or looks depleted, mix in 1 inch of compost around the base and water it in. Too much nitrogen causes yellowing in lower leaves, so switch to a balanced 10-10-10 fertilizer if that's the case.
Don't skip this (I learned the hard way). If you've been fertilizing heavily but leaves keep yellowing, flush the soil with water to remove excess salts. You'll know it's working when new growth appears bright green and healthy within 10-14 days.
✂️ Step 4: Rule Out Pests and Diseases
Lastly, inspect leaves for pests like aphids or signs of disease. Yellowing with brown spots usually means fungal issues from overwatering or poor airflow. Remove affected leaves immediately and space plants 18-24 inches apart for better circulation. I spray with neem oil weekly as prevention—it keeps pests away without harming the plants.
Real talk: if you see yellowing paired with wilting or spots, act fast. Prune back any severely affected foliage to redirect the plant's energy. Healthy new growth should appear within 2-3 weeks if the root cause is addressed.
Tips & tricks for reviving cherry tomato leaves
These simple tricks will help you diagnose and fix yellowing leaves faster than you'd expect.
Watering Wisdom: The 1-2 inch soil check in Step 1 is your best friend—use a wooden skewer instead of your finger if you're squeamish about soil. For potted plants, water until liquid flows from drainage holes, then wait until the top inch feels dry. Overwatering is sneaky: if yellowing appears between leaf veins, that's your telltale sign to cut back immediately. I've saved multiple plants by simply letting them dry out for 2-3 days when I saw this pattern.
Light Exposure Hack: That quarter turn weekly rotation in Step 2 makes a surprising difference, especially for indoor growers. Place a small mirror near your plants to reflect extra light during winter months—it can add 1-2 hours of effective light exposure. For outdoor plants, move them to the sunniest spot you have, even if it means temporarily relocating them from your patio to a south-facing wall. The 6-8 hours of direct sun isn't negotiable for cherry tomatoes.
Soil Test Shortcut: Don't have a pH tester? Grab a handful of soil and mix it with water—if it smells sour or looks murky, your pH is likely too low. For a quick fix, sprinkle a little baking soda around the base (about 1 teaspoon per gallon of soil) to raise pH naturally. The compost addition in Step 3 works wonders, but if you're in a hurry, use worm castings—they're packed with nutrients and improve soil structure instantly.
Pest Prevention: Neem oil isn't just for pests—it also acts as a natural fungicide when applied weekly. Mix 1 teaspoon of neem oil with 1 quart of water and a drop of dish soap (as an emulsifier), then spray on leaves in the morning. The 18-24 inch spacing in Step 4 isn't just about airflow—it also makes it easier to spot pests before they become a problem. I check my plants every morning with a magnifying glass during peak pest season.
Pro Tips for Cherry Tomato Plant Leaf
- These simple tricks will help you diagnose and fix yellowing leaves faster than you'd expect.
- Watering Wisdom: The 1-2 inch soil check in Step 1 is your best friend—use a wooden skewer instead of your finger if you're squeamish about soil.
- Light Exposure Hack: That quarter turn weekly rotation in Step 2 makes a surprising difference, especially for indoor growers.
Frequently asked questions
Why are my cherry tomato plant leaves turning yellow?
Yellowing leaves (a condition called chlorosis) usually mean overwatering, nutrient deficiency (like nitrogen or magnesium), or poor drainage. Check soil moisture—it should be damp but not soggy—and test your soil’s pH (aim for 6.0–6.8). If the yellowing starts at the edges, it’s often overwatering; if it’s spread evenly, it might be a nutrient issue. Fix it fast by adjusting watering and adding compost or a balanced fertilizer.
How long does it take for yellow leaves to recover?
With the right care, you’ll see improvement in 1–2 weeks. If the issue is water-related, leaves may regreen within days. For nutrient deficiencies, recovery takes longer (2–4 weeks) because the plant needs time to absorb amendments. Prune severely yellowed leaves to redirect energy to healthier growth—but avoid cutting more than 20% of the foliage at once. Monitor closely and adjust care as needed.
Can I use coffee grounds or banana peels to fix yellow leaves?
Both are great natural remedies for nutrient deficiencies:
- Coffee grounds: Add to soil (1 cup per plant every 2–3 months) for nitrogen and to improve drainage.
- Banana peels: Bury chopped peels near roots for potassium (helps with overall plant health).
What if my cherry tomato leaves are yellow and curling?
This combo often signals pests (like spider mites or aphids), fungal issues (early blight), or extreme stress (heat/salt buildup). First, inspect leaves for tiny webs, spots, or sticky residue. Treat pests with neem oil or insecticidal soap. For fungal diseases, remove affected leaves and apply copper fungicide. If it’s environmental, move the plant to partial shade and flush soil with water to reduce salt buildup. Act fast—curling leaves can stunt fruit production!
Can I save a cherry tomato plant with mostly yellow leaves?
It depends! If only a few leaves are yellow and the rest are healthy, prune the bad ones and focus on care adjustments. However, if over 50% of leaves are yellow or wilted, the plant may not recover enough to produce fruit. In this case, harvest any ripe tomatoes and consider replacing the plant. Prevention tip: Next season, plant in well-draining soil and use mulch to retain moisture without overwatering.
Wrapping up and next steps
Caring for your cherry tomato plant’s leaves doesn’t have to be a mystery—with the right knowledge and a little patience, you can restore them to vibrant health! 🌱 Whether it’s adjusting watering habits, improving soil conditions, or addressing pests, these three simple steps will set your plants on the path to recovery.
Now that you’re armed with solutions, why not take the next step? Share your progress with fellow gardeners or dive deeper into organic gardening techniques to keep your plants thriving all season long!